Studio - publish to a workspace
Publishing turns a local Studio dashboard into a dashboard in your workspace, where the rest of your organisation can open it. Pulling does the reverse. Both need a DataSquares account with permission to create dashboards; the workspace address must be HTTPS. For single sign-on and two-factor sign-in, see SSO and MFA.
Sign in
Section titled “Sign in”Select Publish... in the ribbon. The Workspace sync dialog opens on a sign-in form.
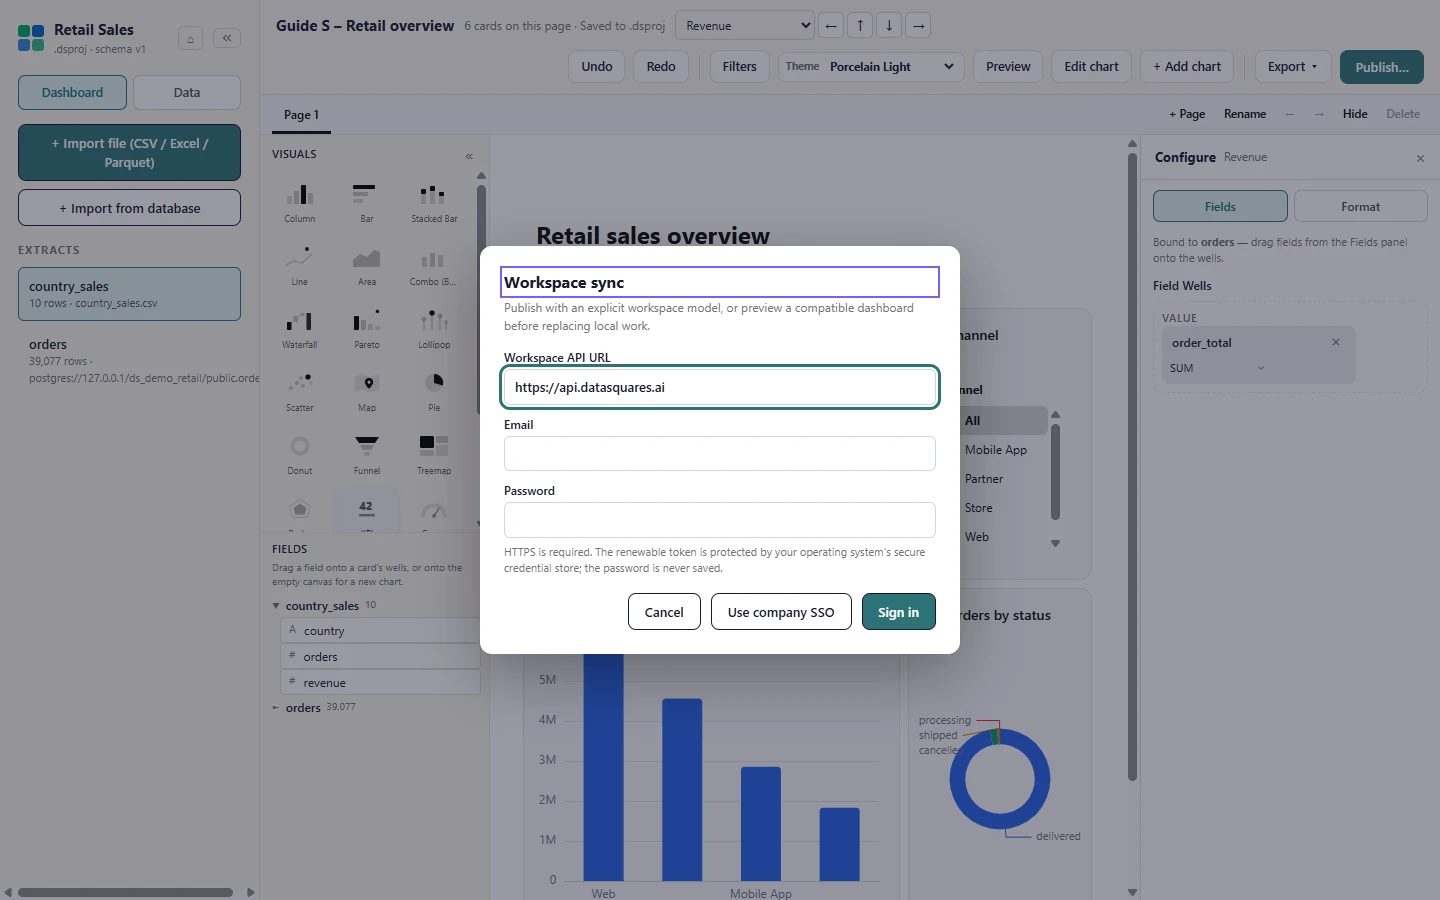
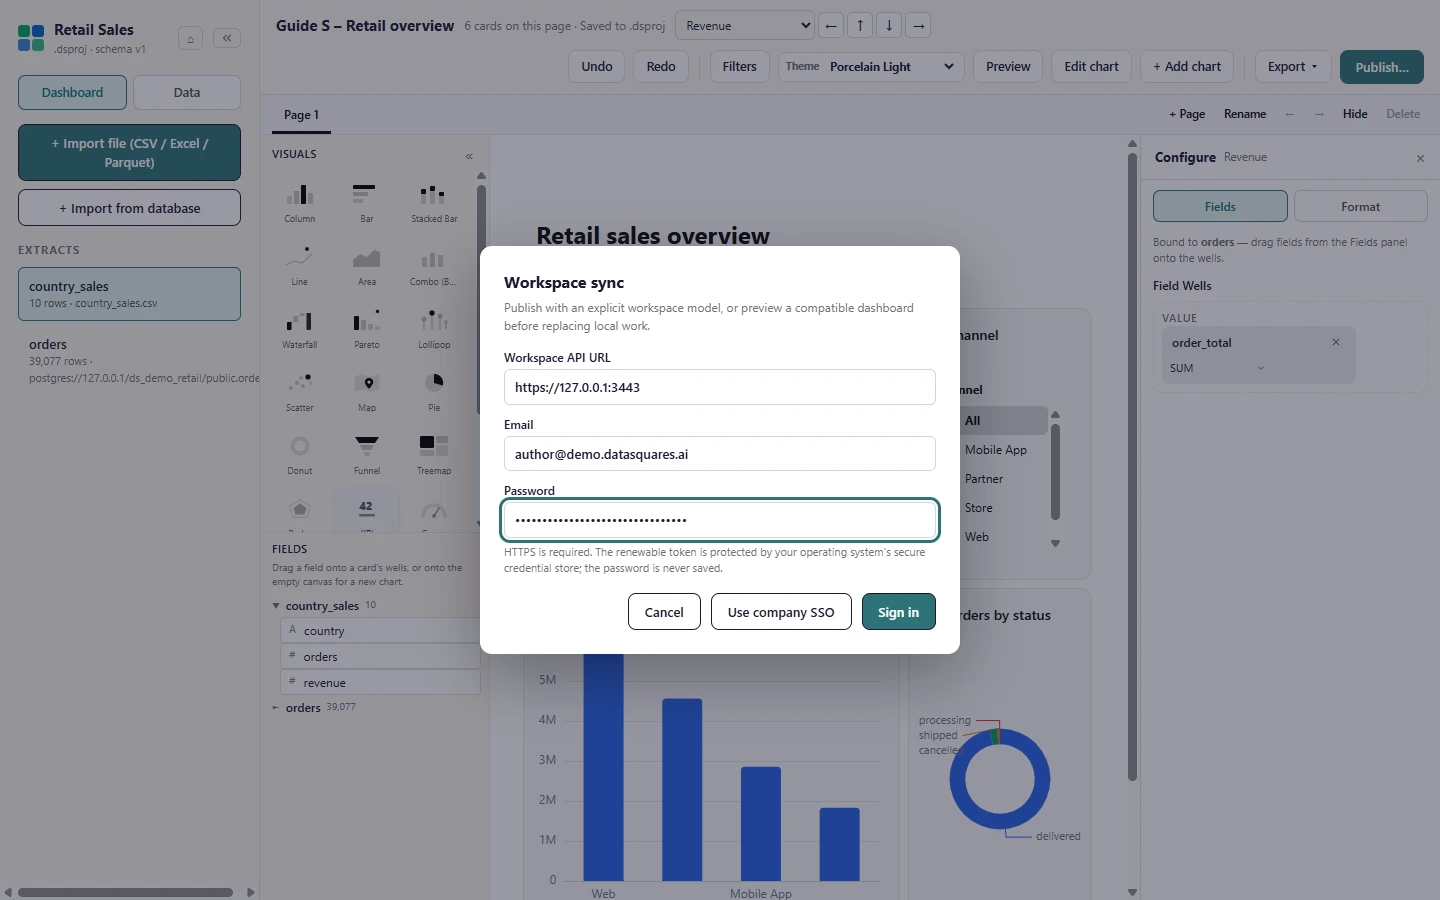
Enter your workspace API address (your organisation gives you this; it must be HTTPS), your email and your password. Use company SSO signs in through your identity provider instead. The password is never saved.
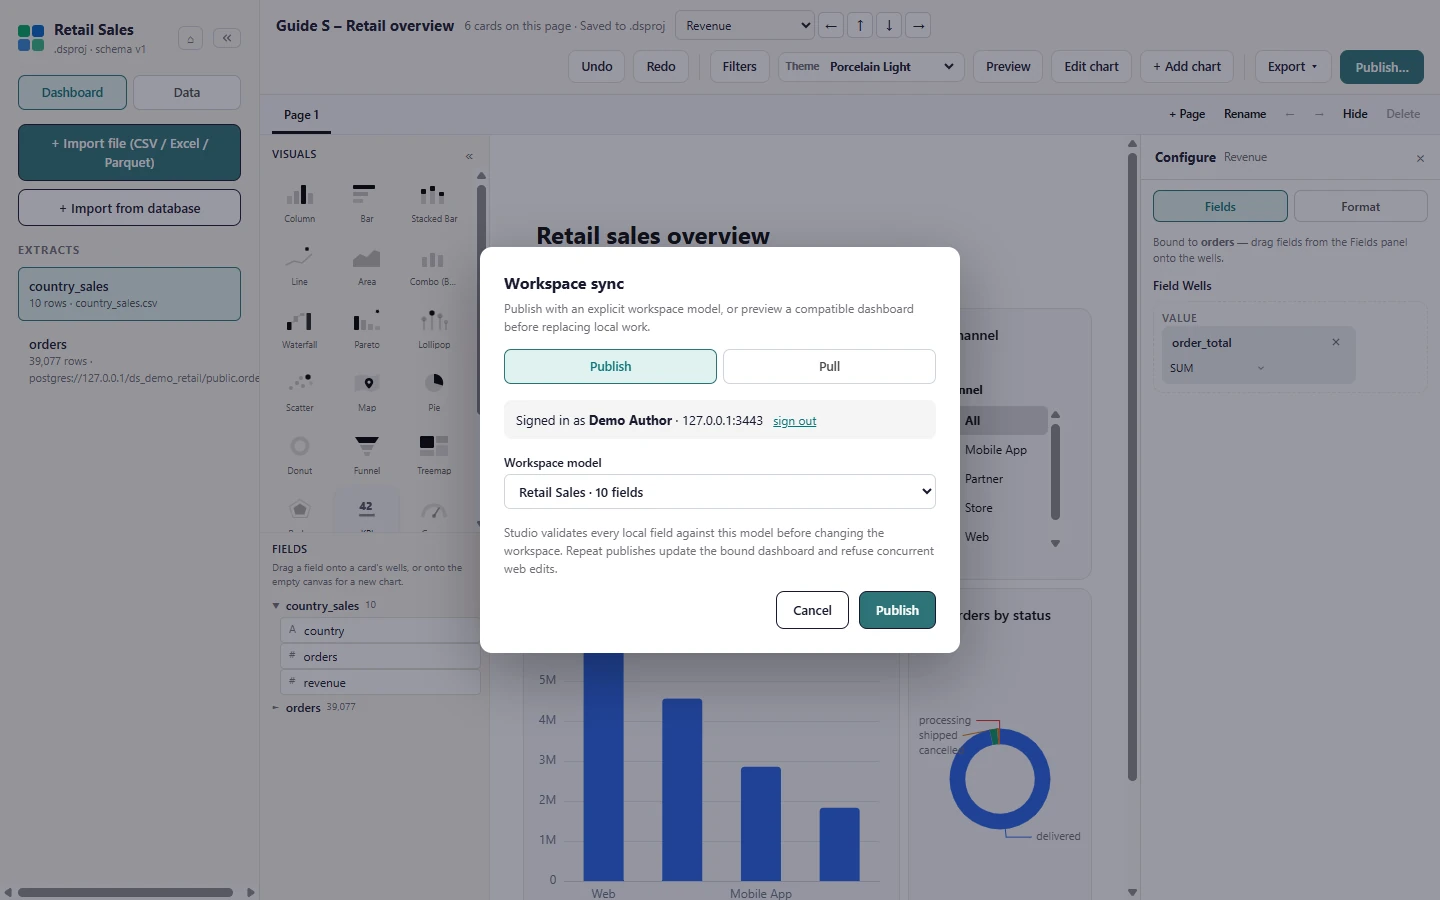
When sign-in succeeds the dialog names you and the workspace, and lists the workspace models on the Publish tab. If your account needs a two-factor code, Studio asks for it before this point.
Publish a dashboard
Section titled “Publish a dashboard”You choose the workspace data model explicitly. Studio checks every local field against it before changing anything, and cards are published with the model’s field IDs. A card the web cannot draw is reported rather than sent, and a repeat publish updates the same dashboard.
On the Publish tab choose the Workspace model the dashboard should read from. Studio validates every local field against that model before it changes anything in the workspace.
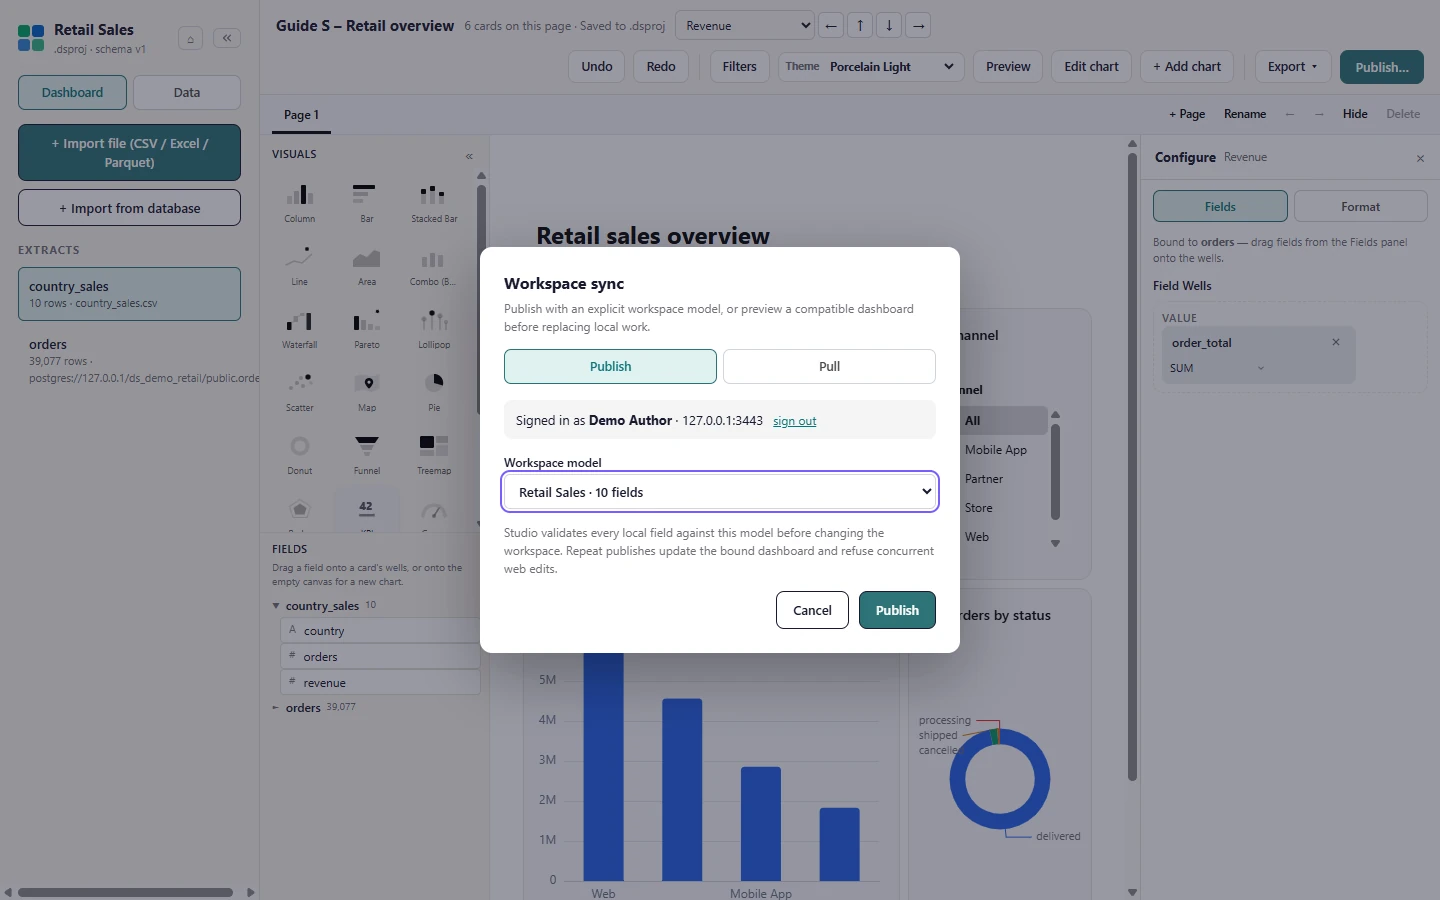
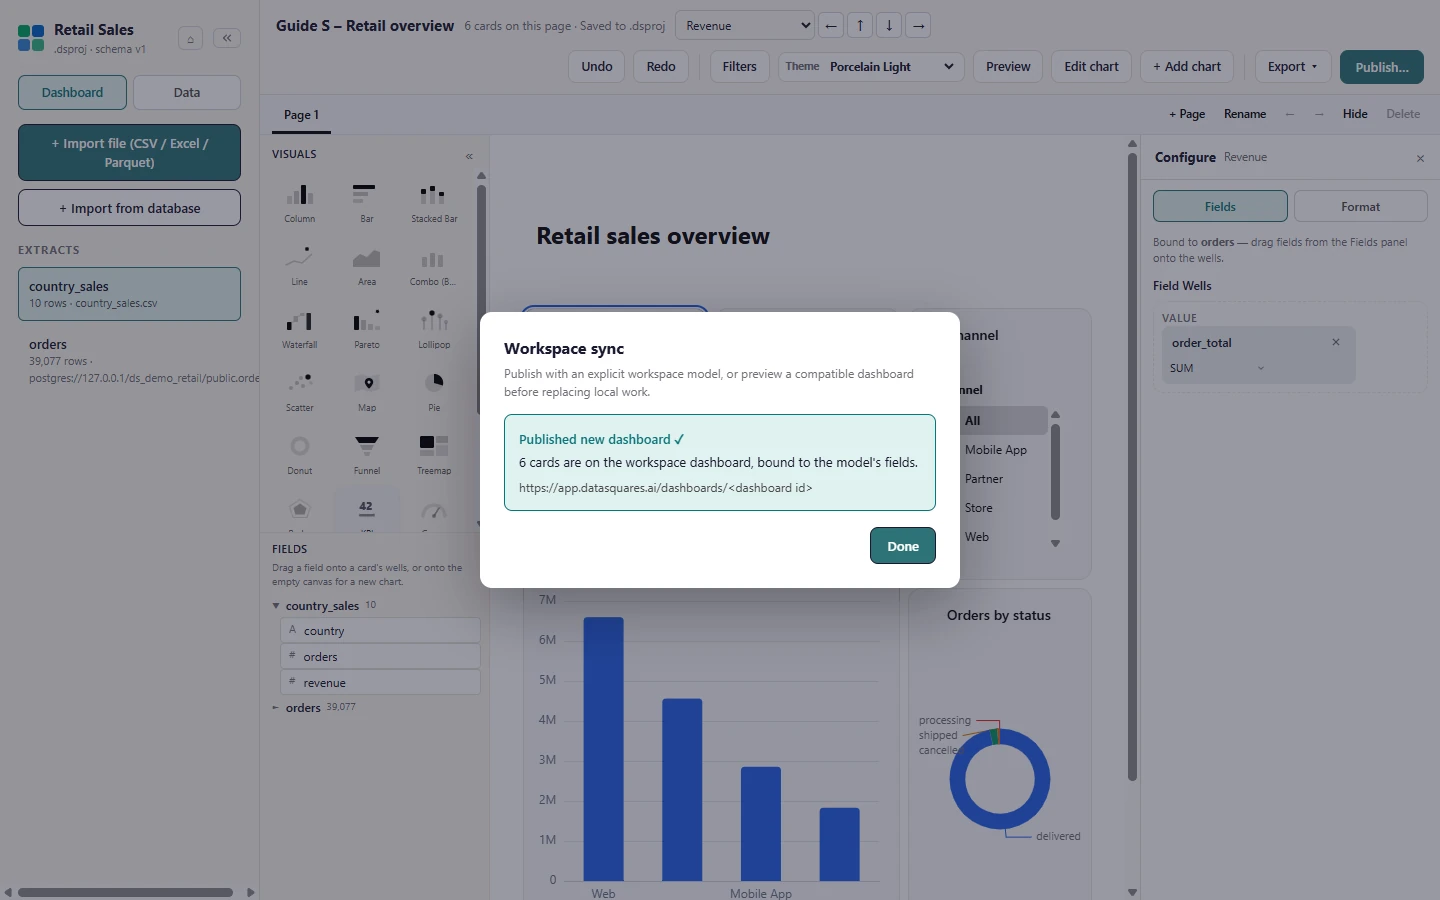
Select Publish. The cards are published with the model's field IDs and the dialog reports Published new dashboard, with how many cards went. Open the dashboard on the web from the address shown.
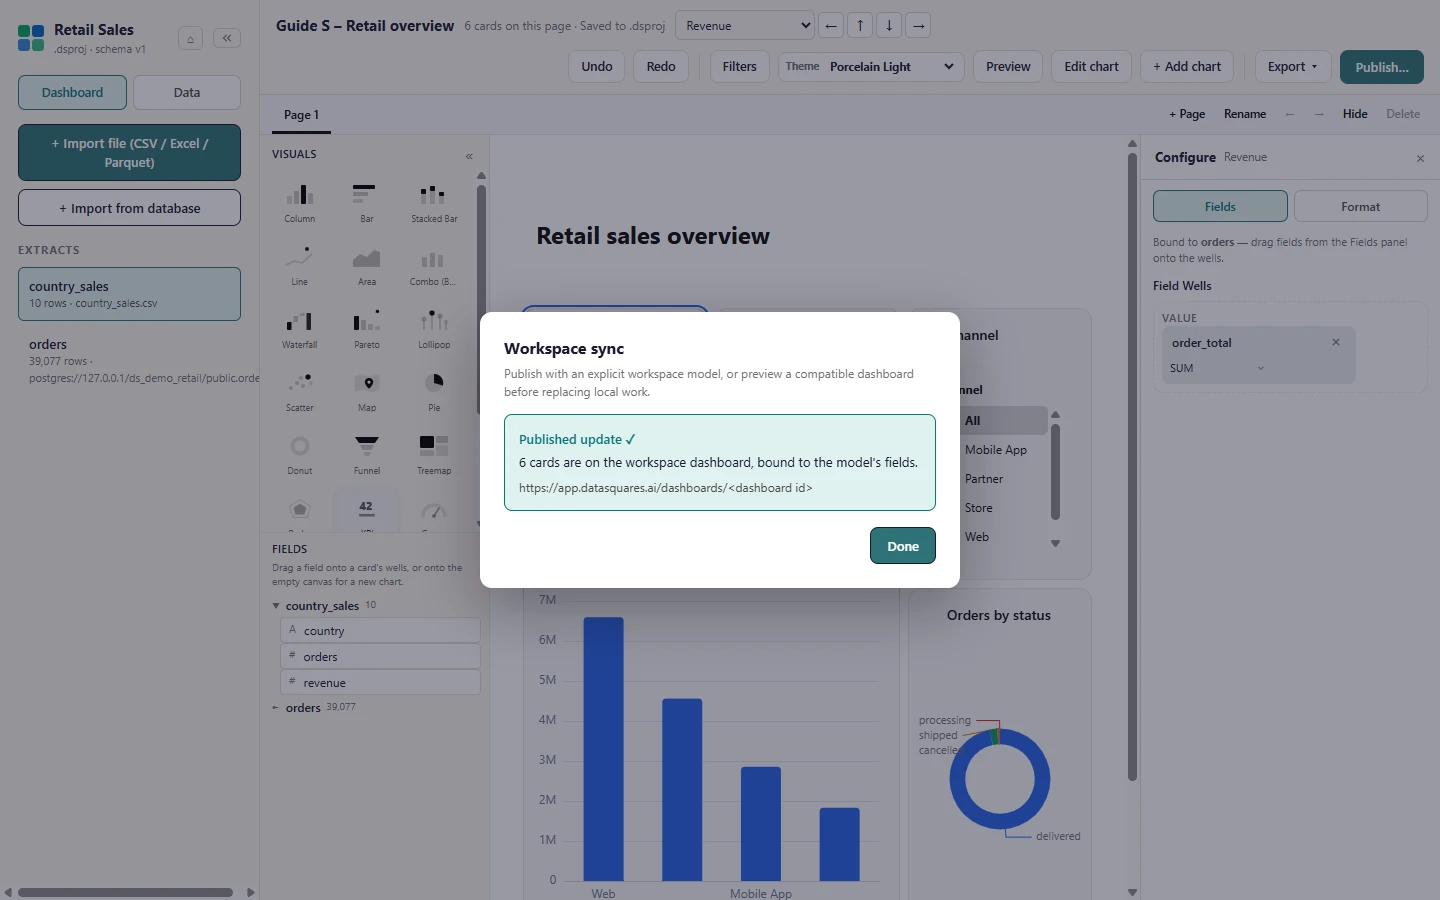
Publishing again updates the same workspace dashboard (Published update) and refuses if someone changed it on the web in the meantime, so you never overwrite their edit unseen.
Pull a dashboard
Section titled “Pull a dashboard”Pulling shows a compatibility preview first. If Studio cannot preserve something, it says what and blocks the pull; otherwise applying the pull makes a recovery copy of your local dashboard before replacing it.
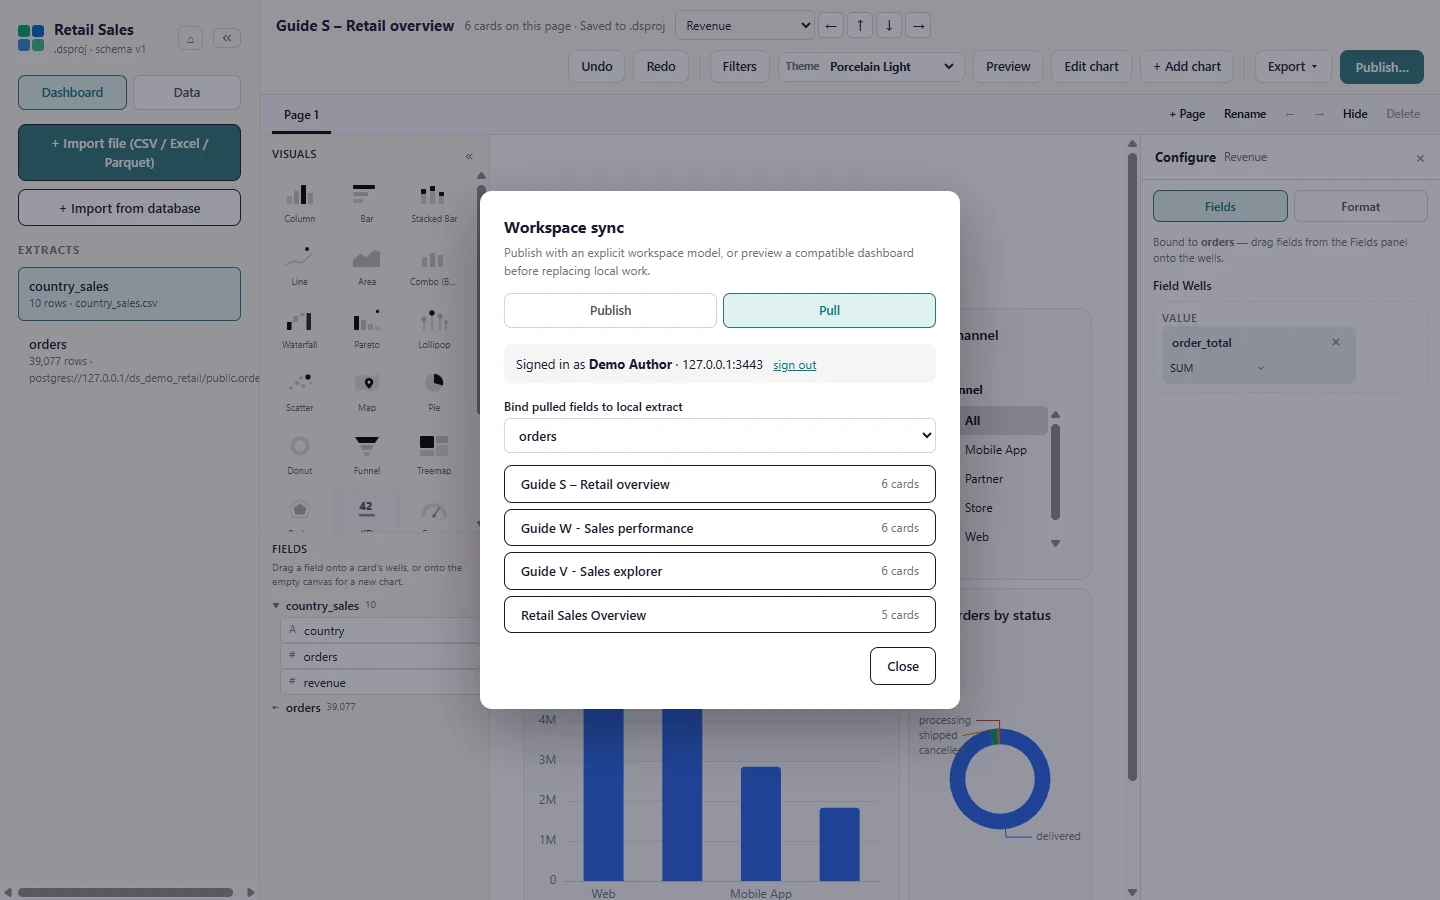
Open the Pull tab, choose the local table the pulled fields should bind to, and pick a workspace dashboard from the list.
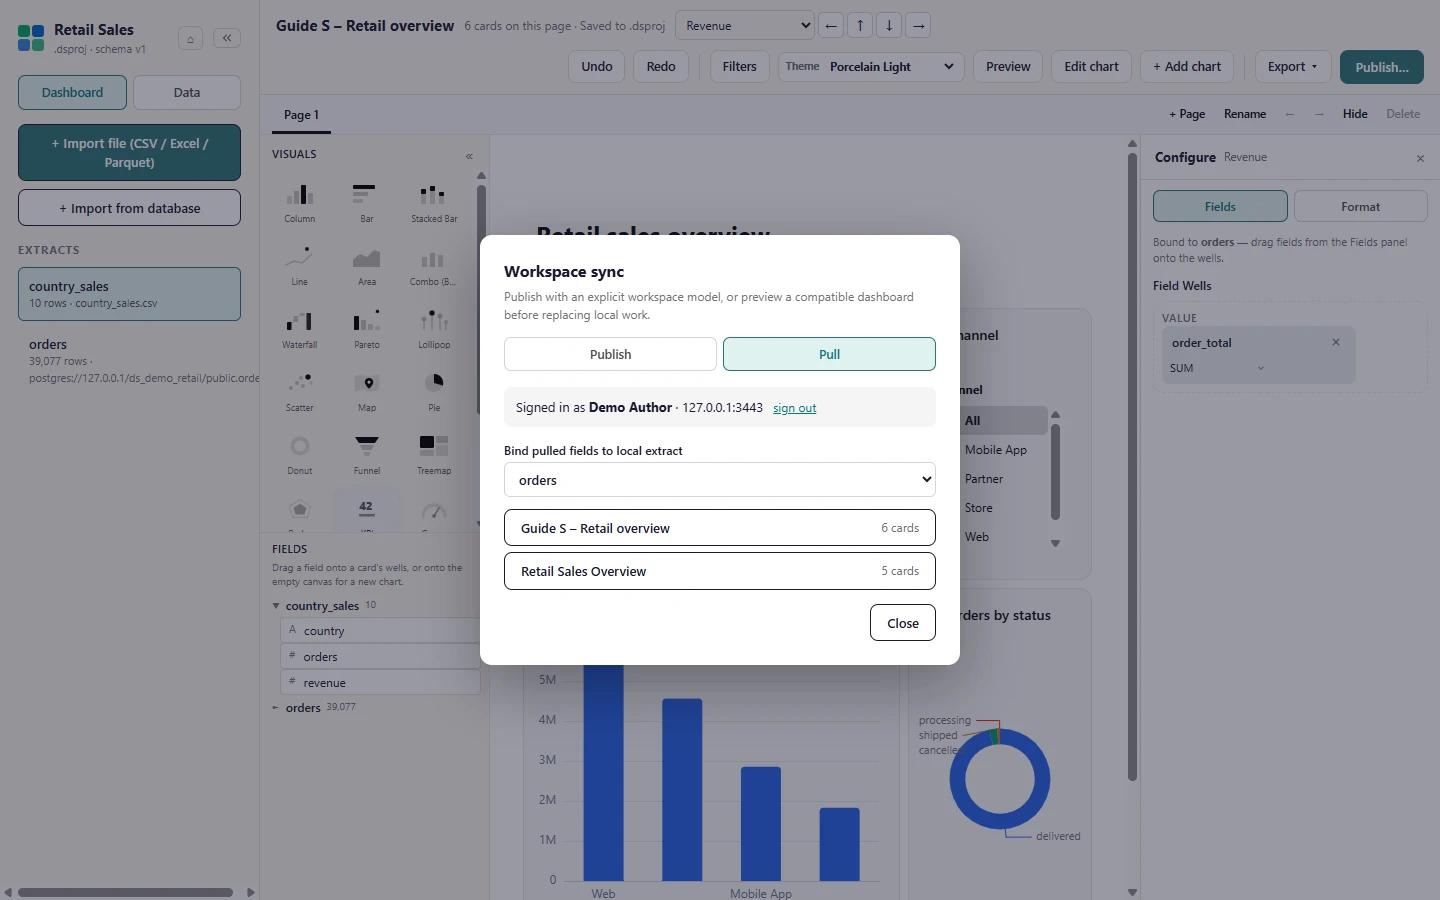
Studio shows a compatibility preview before it touches anything. If every card can be kept it says Compatible; otherwise it lists what Studio cannot preserve and blocks the pull.
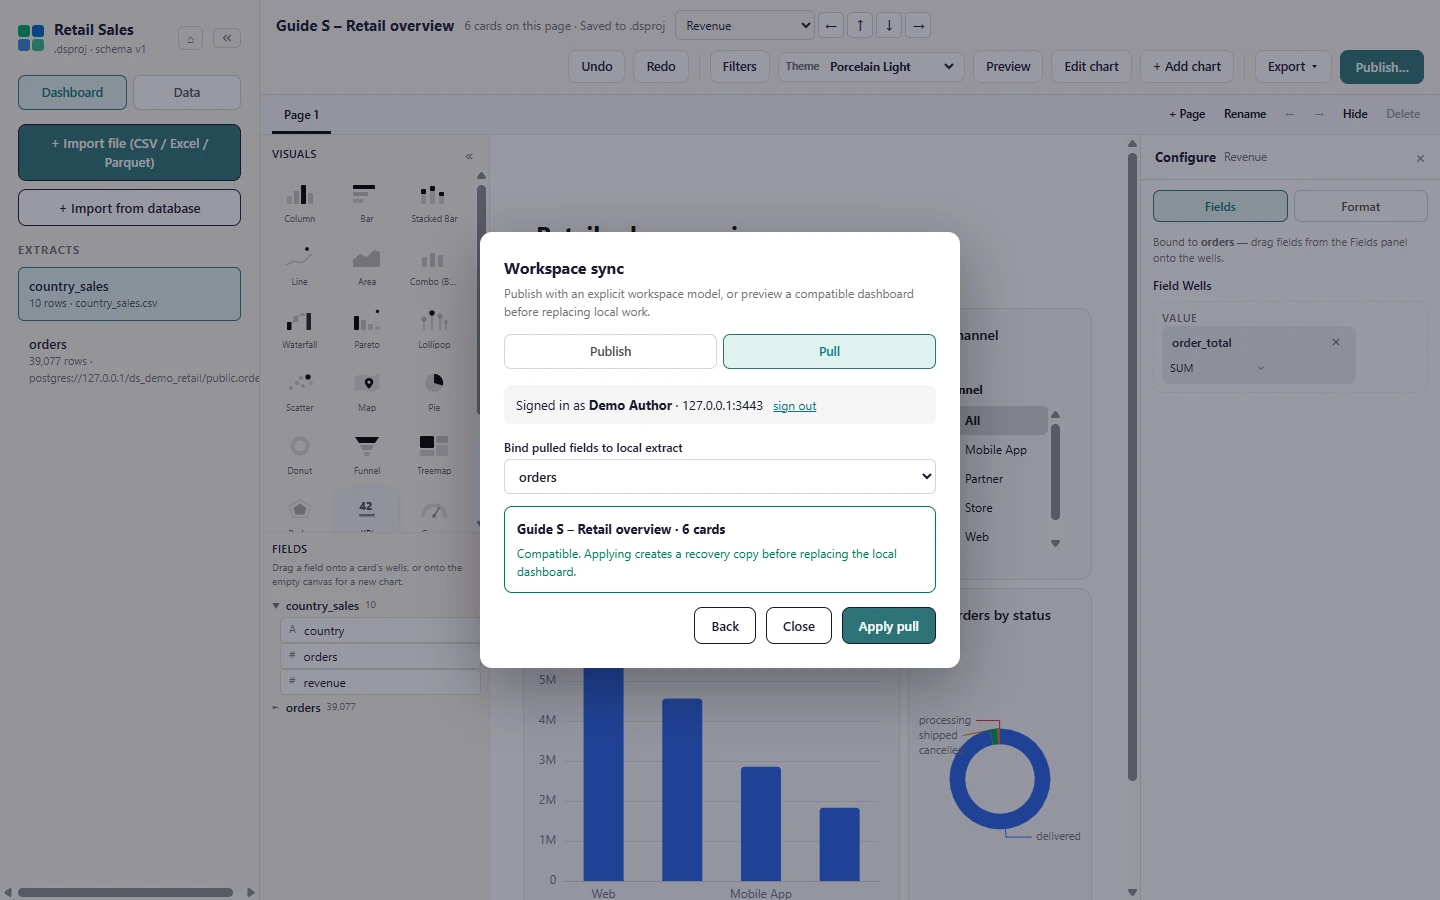
Back returns to the dashboard list. Apply pull (shown when the preview is compatible) replaces the local dashboard after making a recovery copy of it first.