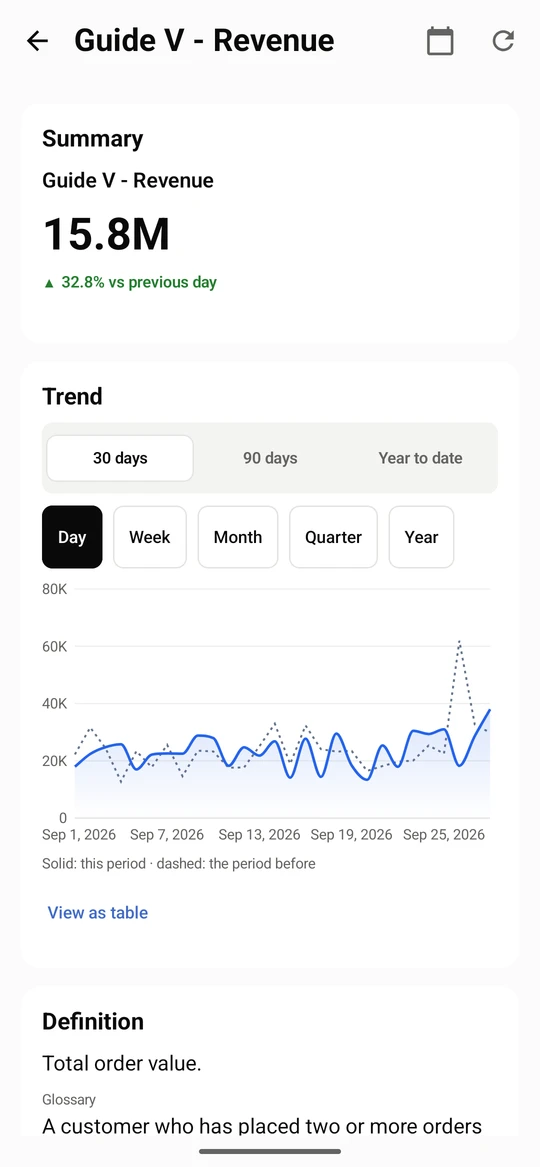
Mobile app - get started
The DataSquares Android app is the phone for people who read what others build: open dashboards, follow metrics, read reports and get alerts. Authoring and administration stay on the web app, and the app links to the web layout when you need it.
A dashboard opens with the same data rules as on the web: you see only the rows and columns your account is allowed to. The app has four tabs, Home, Library, Inbox and Account.
Sign in
Section titled “Sign in”Enter your work email, then your password. If your organization uses single sign-on, a passkey or a sign-in link, see Passkeys, sign-in links & more and SSO & MFA; the app offers the same methods.
Open the app. Sign in to your workspace asks for your work email.
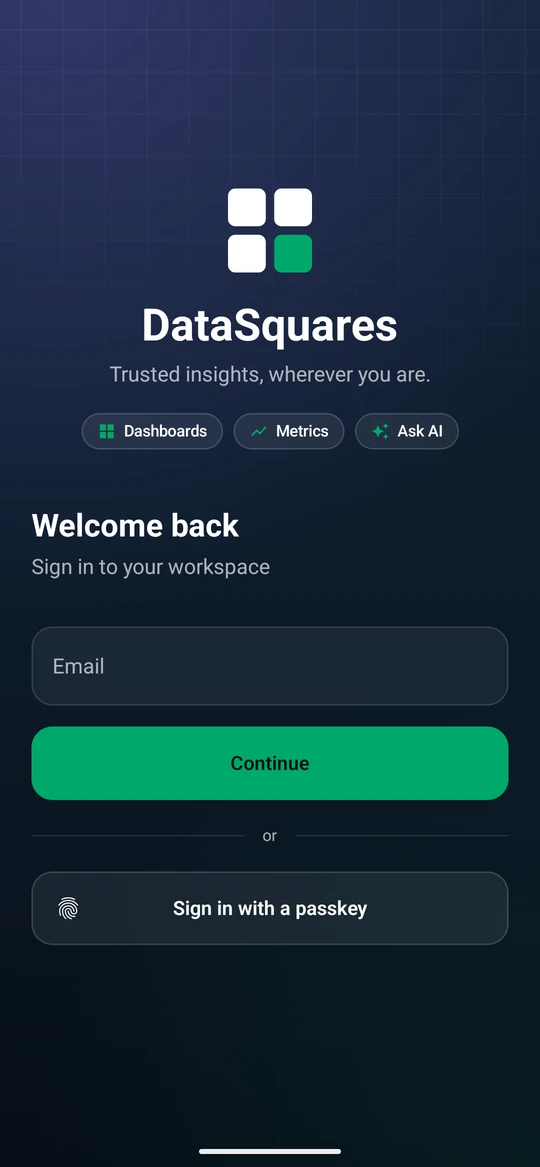
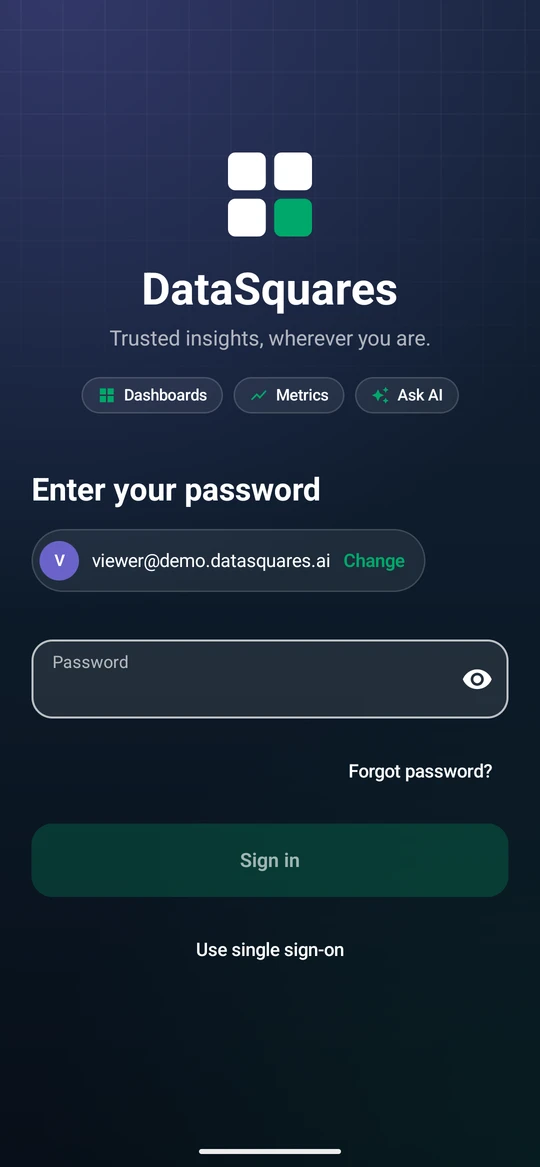
Select Continue. Enter your Password, or choose Change to use another email.
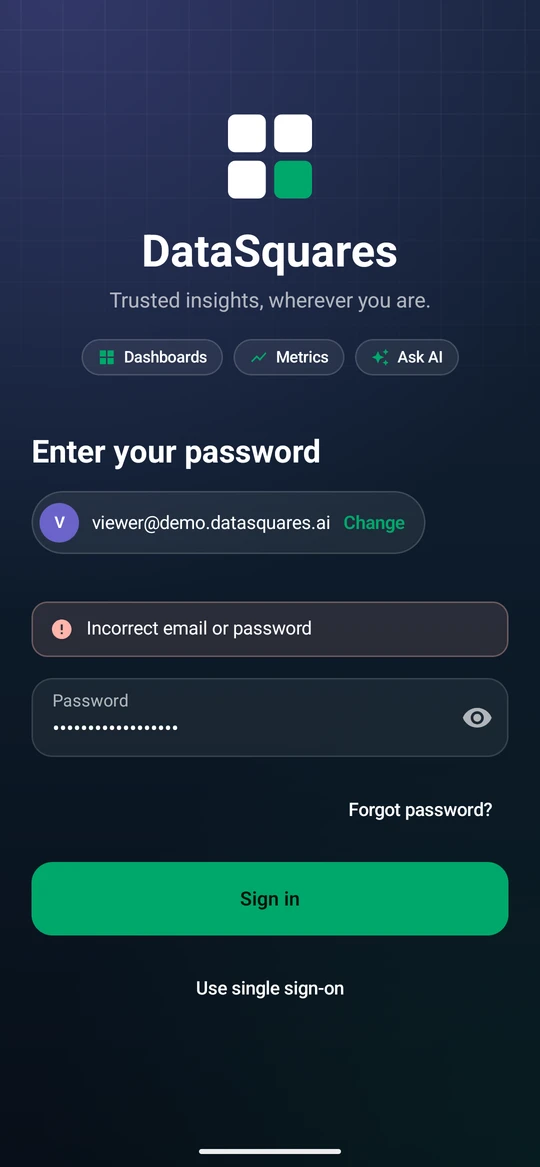
A wrong password shows an inline error. Correct it and select Sign in again.
After you sign in the app offers Add a passkey so next time a fingerprint is enough. Choose Not now to skip it.
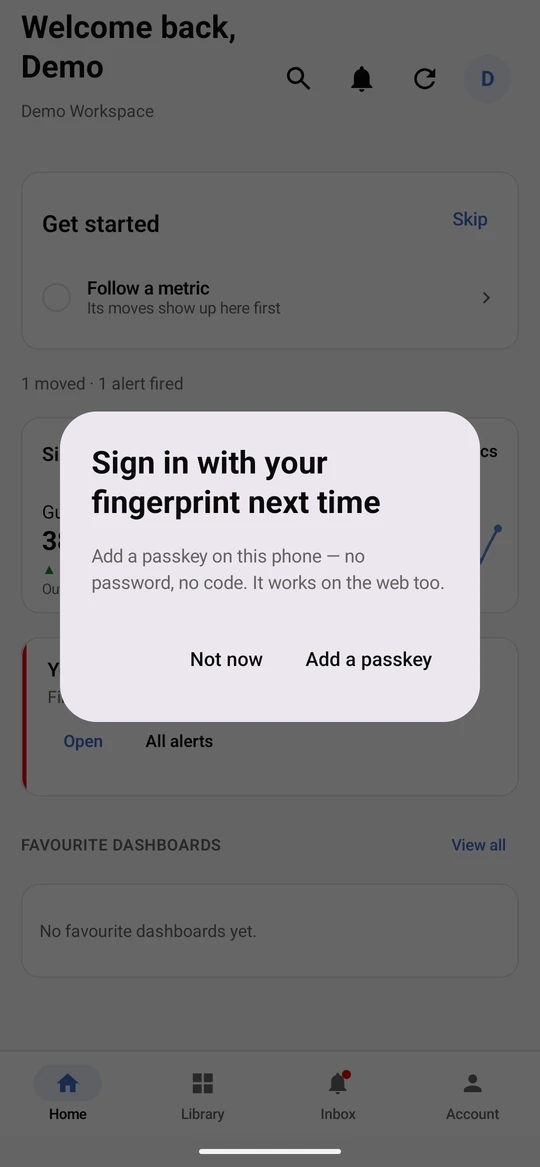
You land on Home in your workspace.
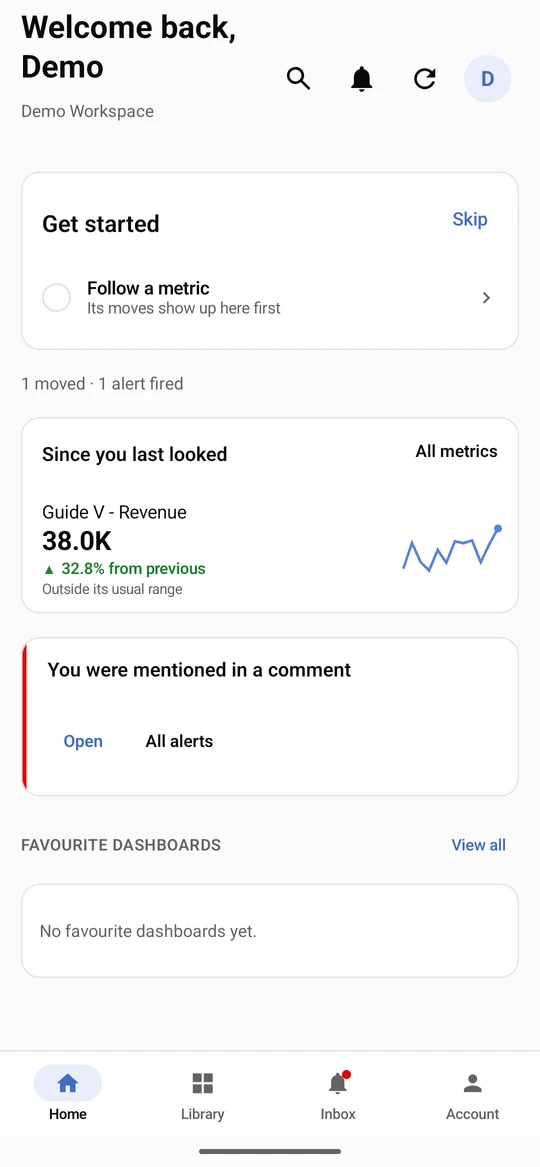
Get started checklist
Section titled “Get started checklist”New accounts see a short checklist on Home. Each row takes you to the place where you do the step, and the row ticks when you have.
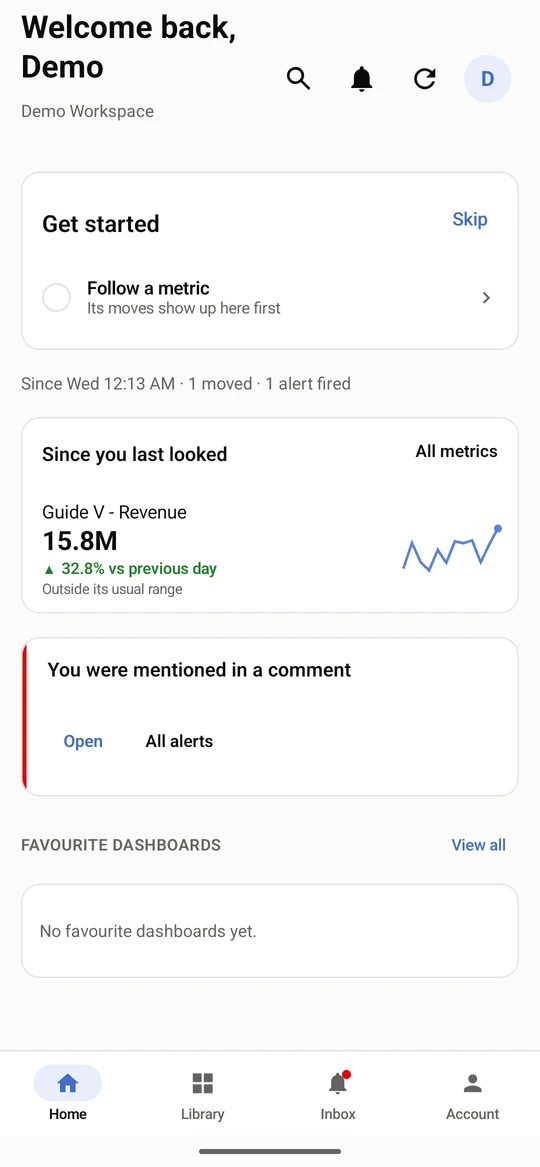
Until you have set things up, Home shows a Get started checklist. Each row opens the place where you do that step; Skip hides the card.
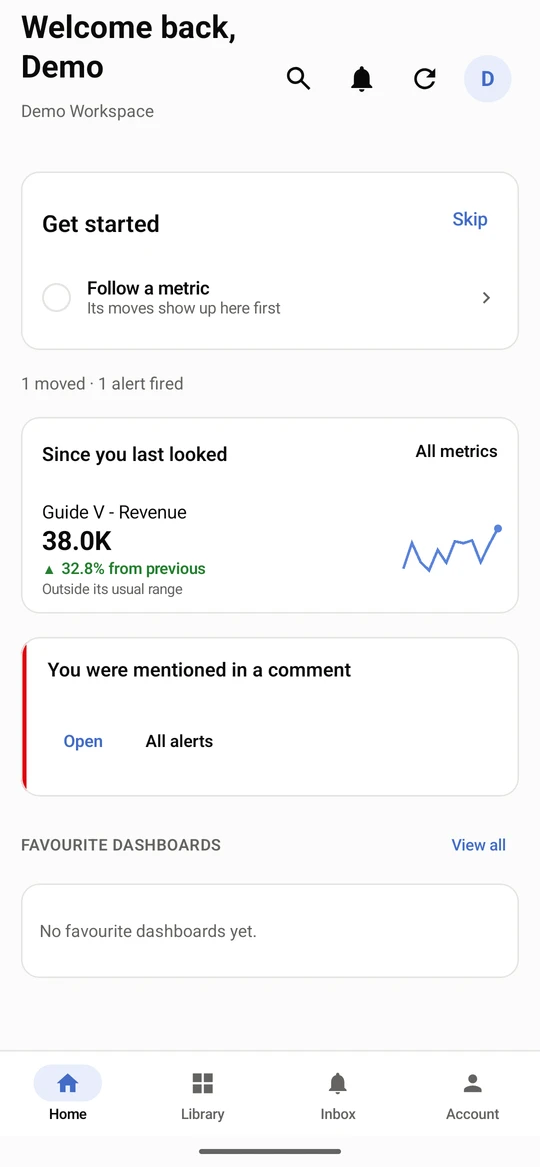
Follow a metric opens the metric list. Tap the star beside a metric to follow it.
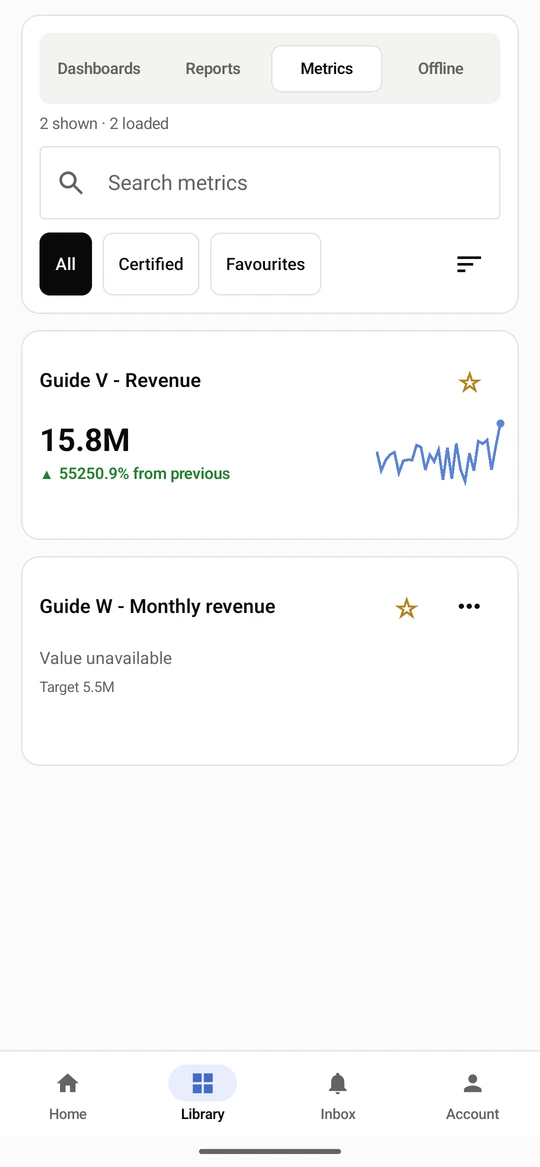
The star fills and the metric joins your watchlist.
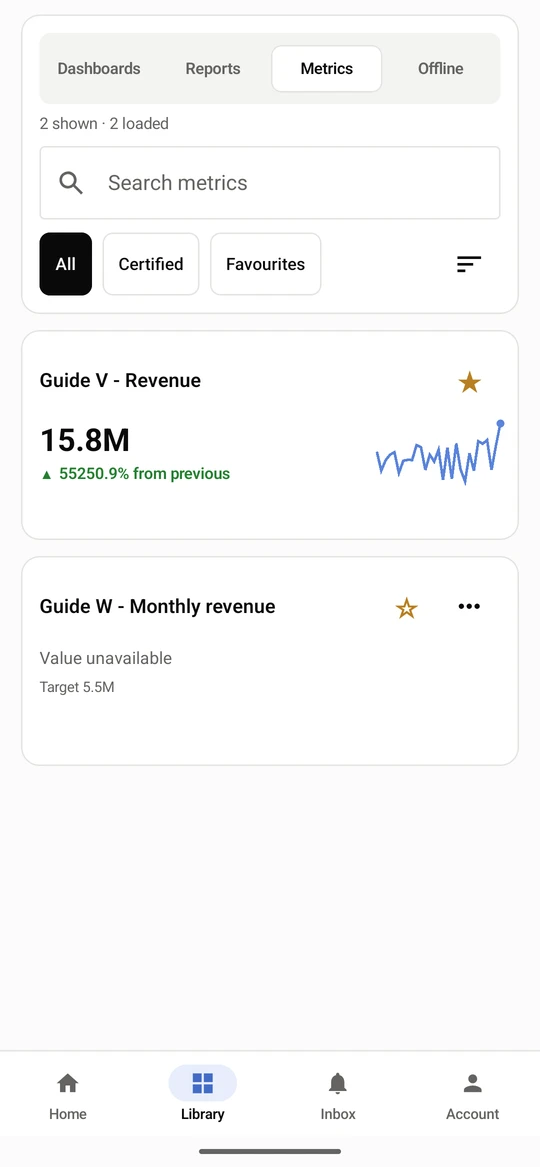
Back on Home the checklist step is ticked, and the metric appears under Metrics you follow.
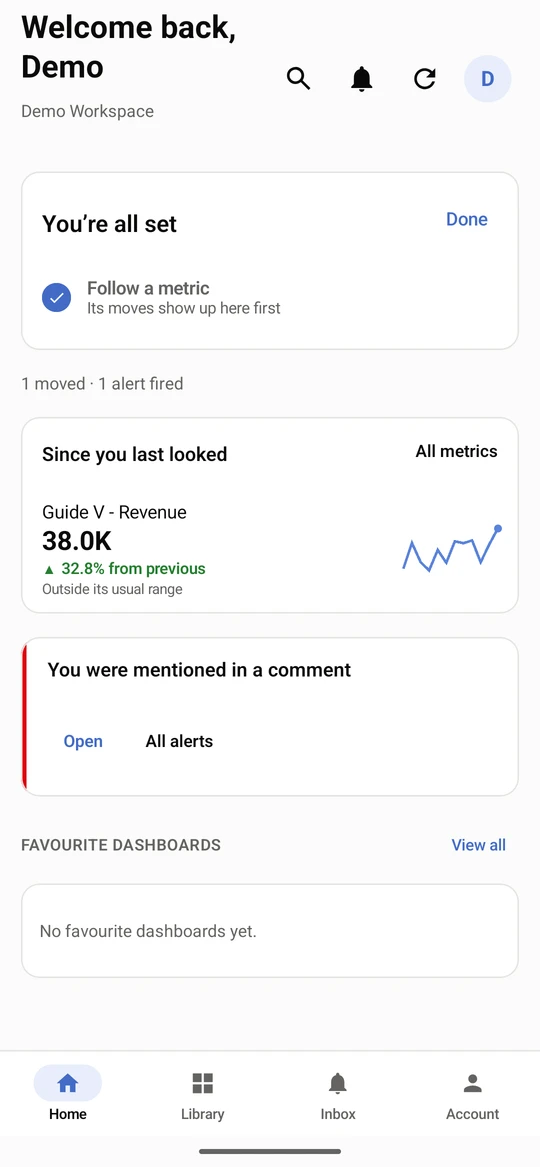
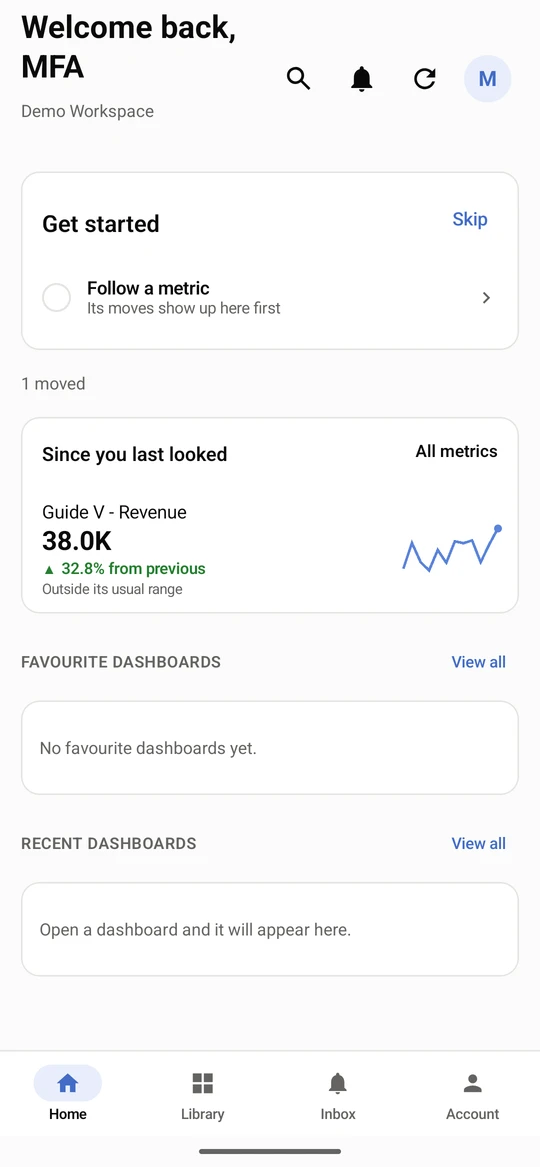
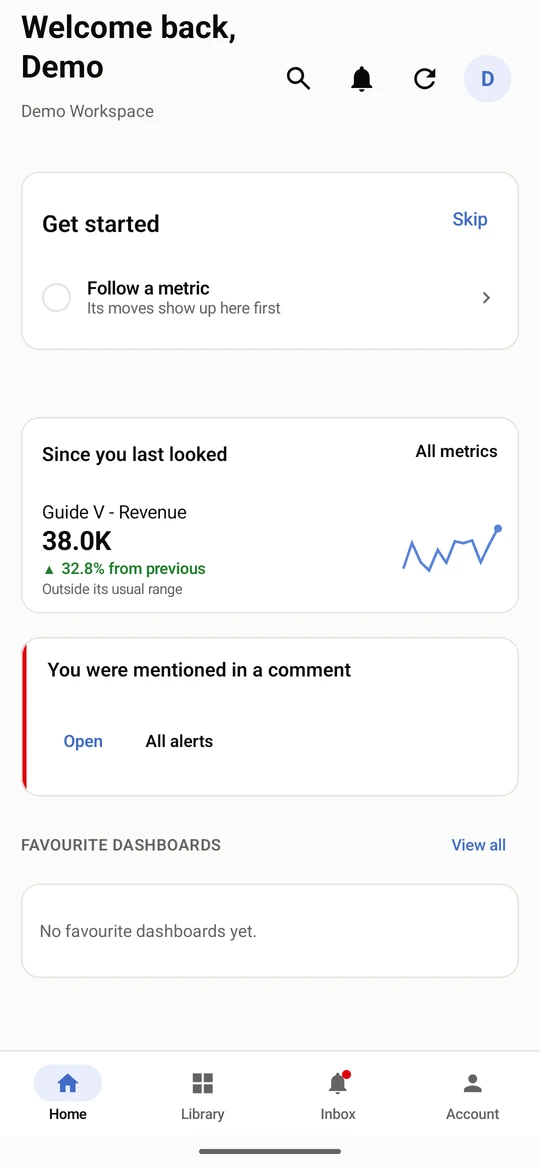
Home shows what changed since you last looked, your favourite and most-opened dashboards and the metrics you follow. Tap the workspace name to switch workspace.
Home opens on what changed. Since you last looked lists the metrics that moved, and a fired alert shows below it.
Scroll for Favourite dashboards and Frequently opened ones. View all opens the Library.
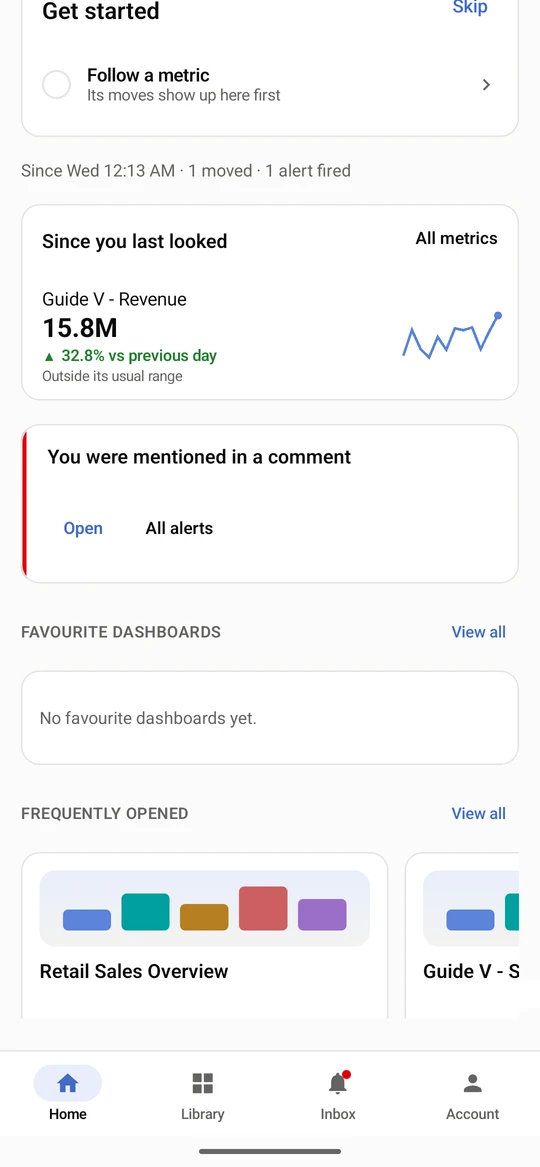
Tap the workspace name to switch workspace. Home, Dashboards, Metrics and Alerts reload for the one you pick.
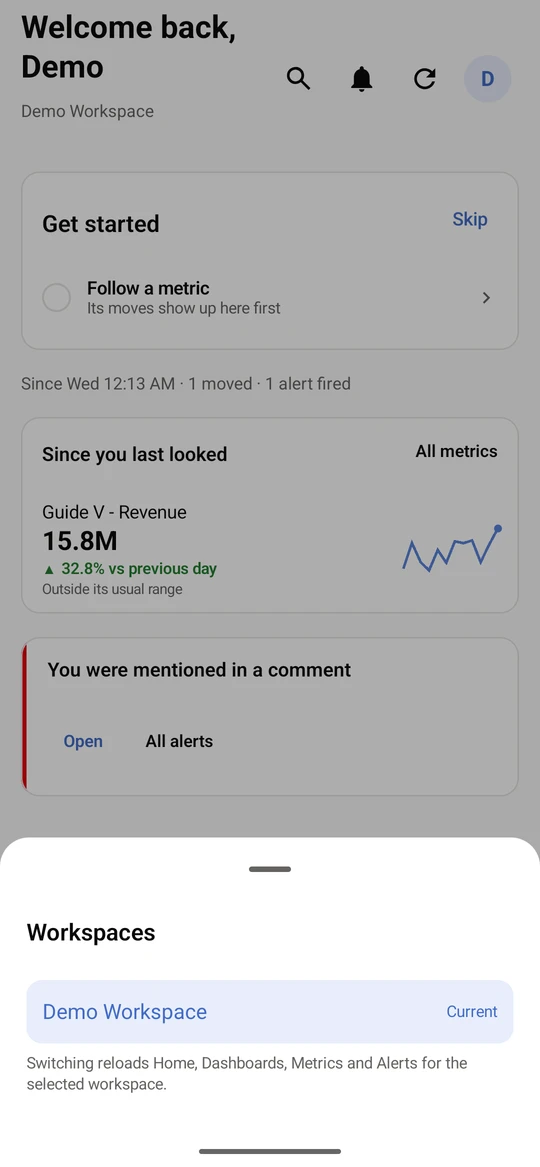
Sign in with a verification code
Section titled “Sign in with a verification code”If your account uses two-step verification, sign-in continues on Two-step verification after the password. Enter the 6-digit code from your authenticator app. Remember this phone for 30 days skips the code on this phone next time, so use it only on a phone you alone use. Set the authenticator up under Account & settings.
When your account uses two-step verification, sign-in continues with Two-step verification. Enter the 6-digit code from your authenticator app. Remember this phone for 30 days skips this step here next time; use it only on a phone you alone use.
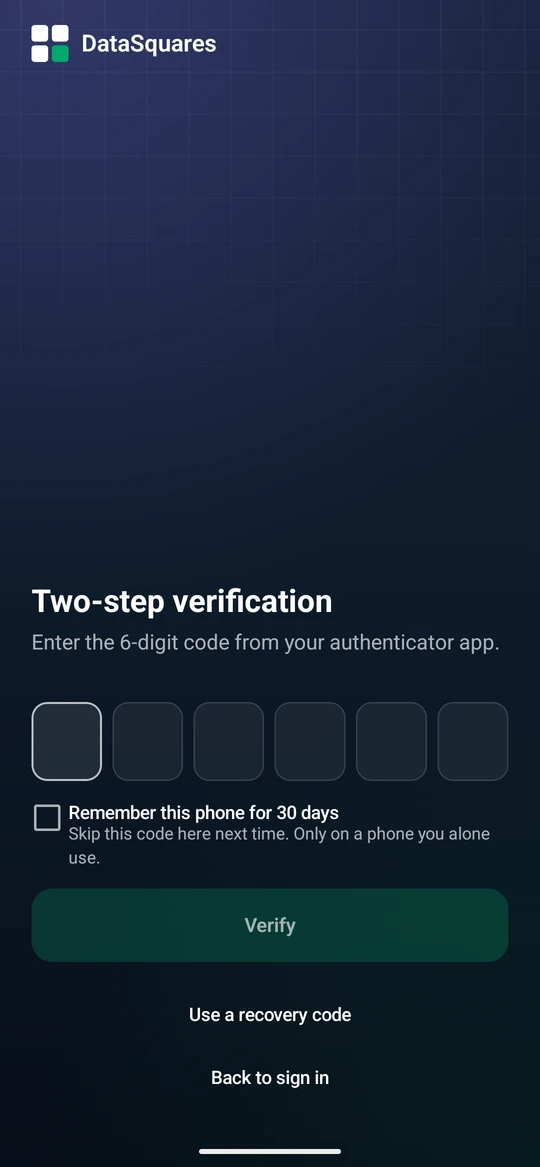
Lost your authenticator? Choose Use a recovery code and enter one of the codes you saved when you turned two-step verification on, in the form XXXXX-XXXXX.
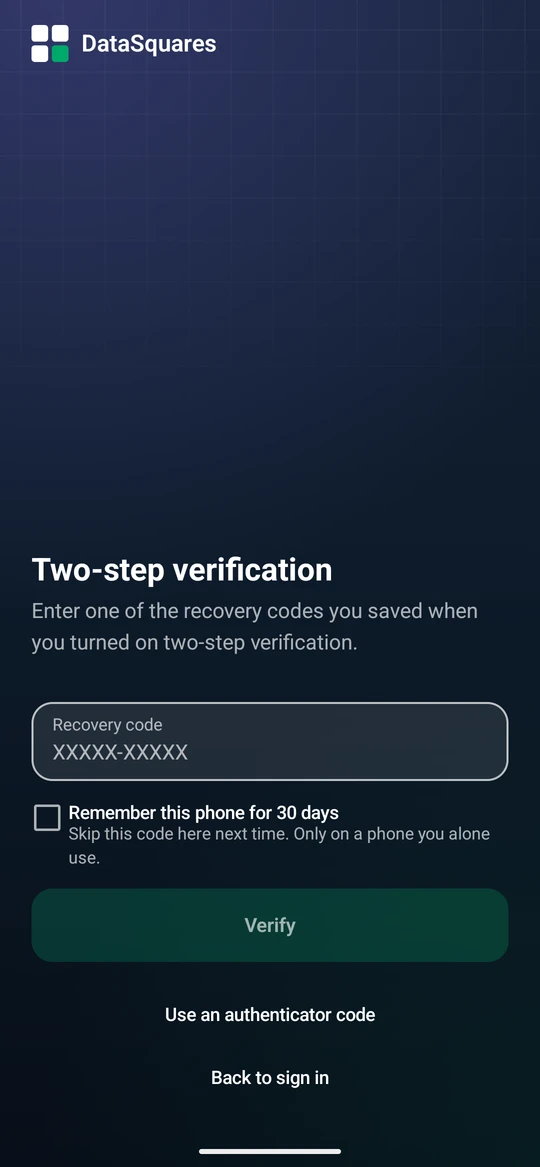
The code is accepted and you land on Home.
Approve a sign-in on another screen
Section titled “Approve a sign-in on another screen”A phone that is already signed in can sign a browser in. On the browser’s sign-in page choose Sign in with your phone; it shows a QR code and a two-digit number. Open the code with the app (or its link), type the number and select Approve. Approve only when you are signing in on that screen yourself, right now: the request lasts 60 seconds and works once.
On the sign-in page of a browser, choose Sign in with your phone. It shows a QR code and a two-digit number. Scan the code with the app, or open its link: the app asks Sign in on another device? and says which network address is asking.
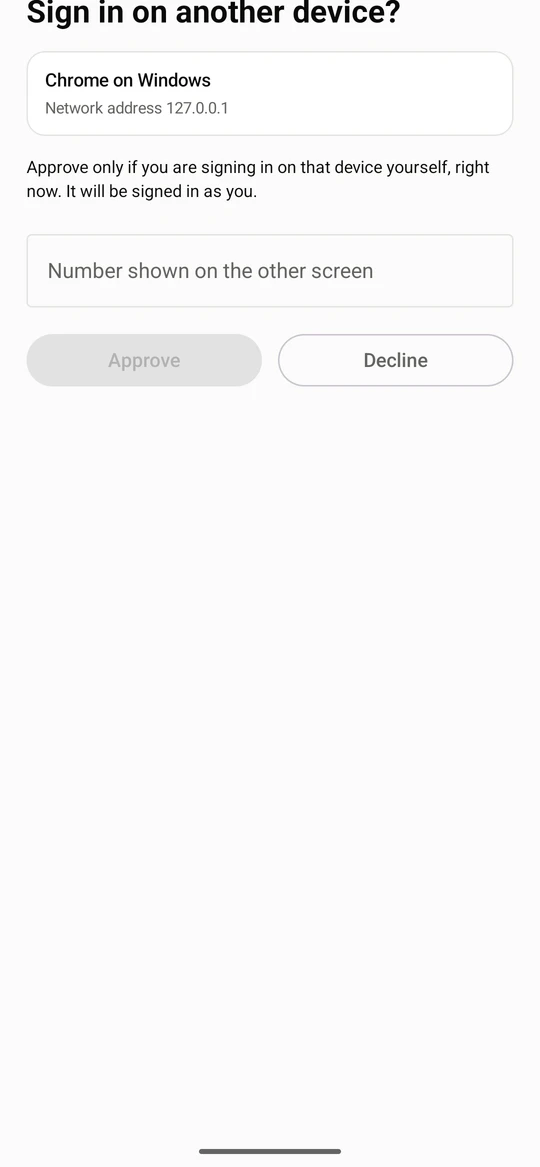
Type the number the browser shows, and check that you are signing in yourself, right now. A wrong number declines the request.
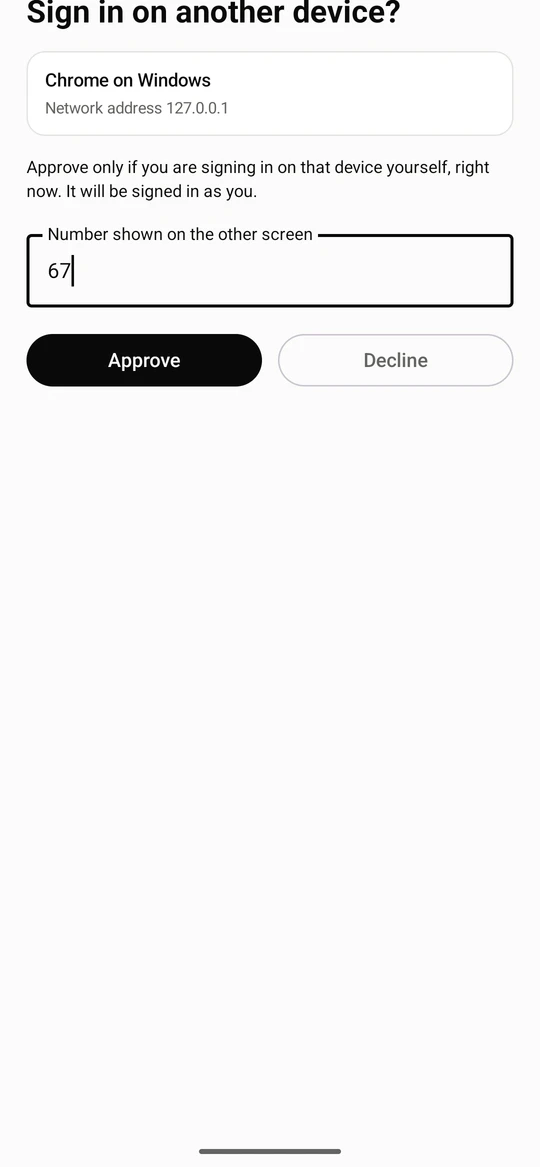
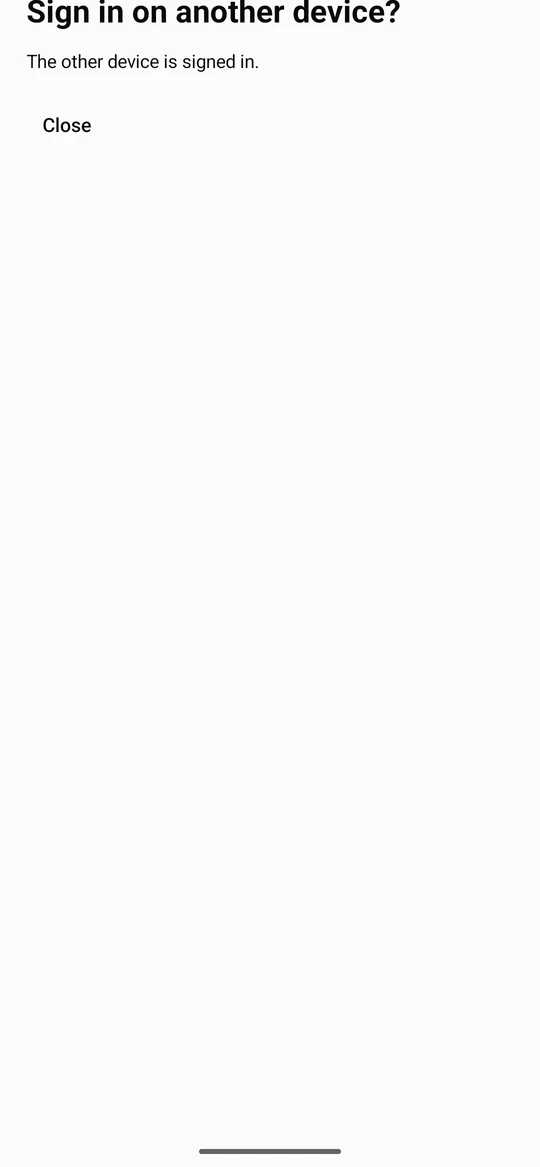
Select Approve. The app says The other device is signed in. The browser page signs in by itself a moment later. A request is good for 60 seconds and works once.
Lock the app
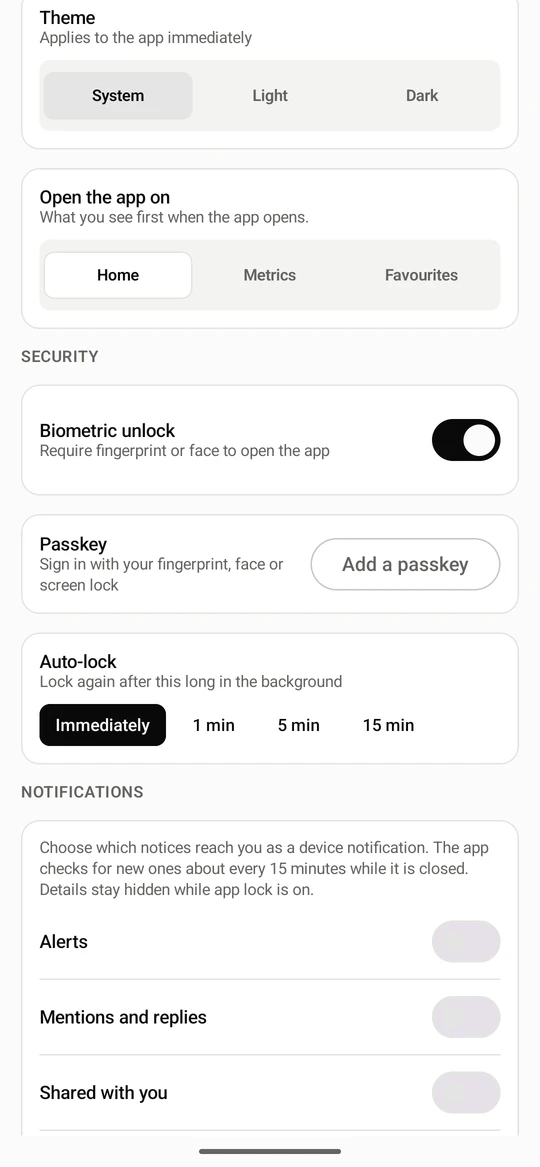
Section titled “Lock the app”Turn on Biometric unlock under Security in Settings and the app locks when it goes to the background. The phone asks for your fingerprint, your face or your screen lock to unlock it; Auto-lock sets how long the app may stay in the background first. Your organization can require the lock. The phone’s own unlock prompt is not shown in these pictures, because Android hides it from screenshots.
Open Settings from Account. Under Security, Biometric unlock is off, so the app opens straight to your content.
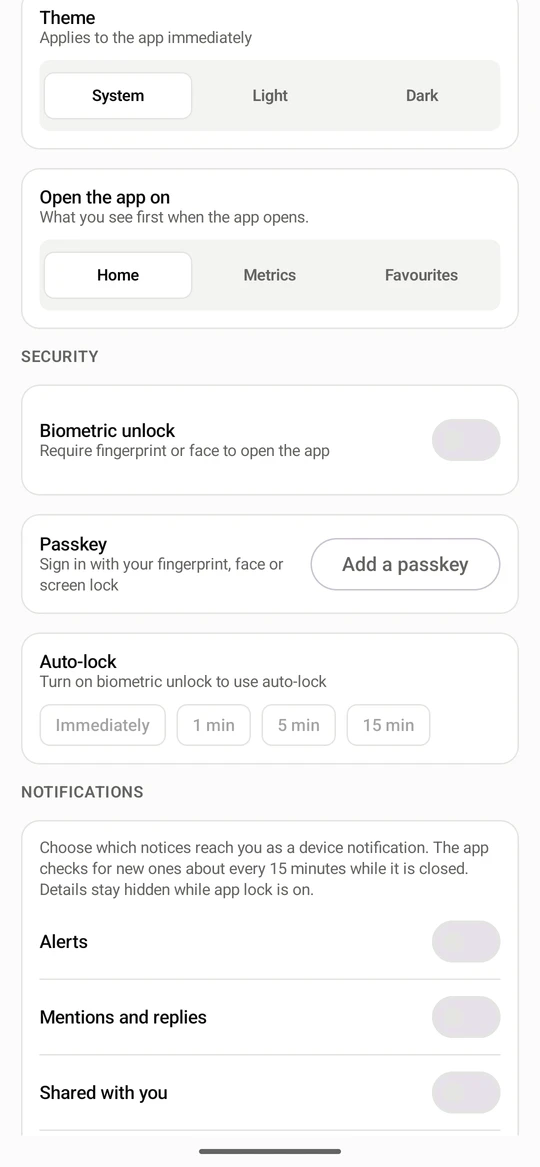
Turn on Biometric unlock. The phone first asks you to prove it is you, with your fingerprint, your face or your screen lock. Auto-lock sets how long the app can stay in the background before it locks again.
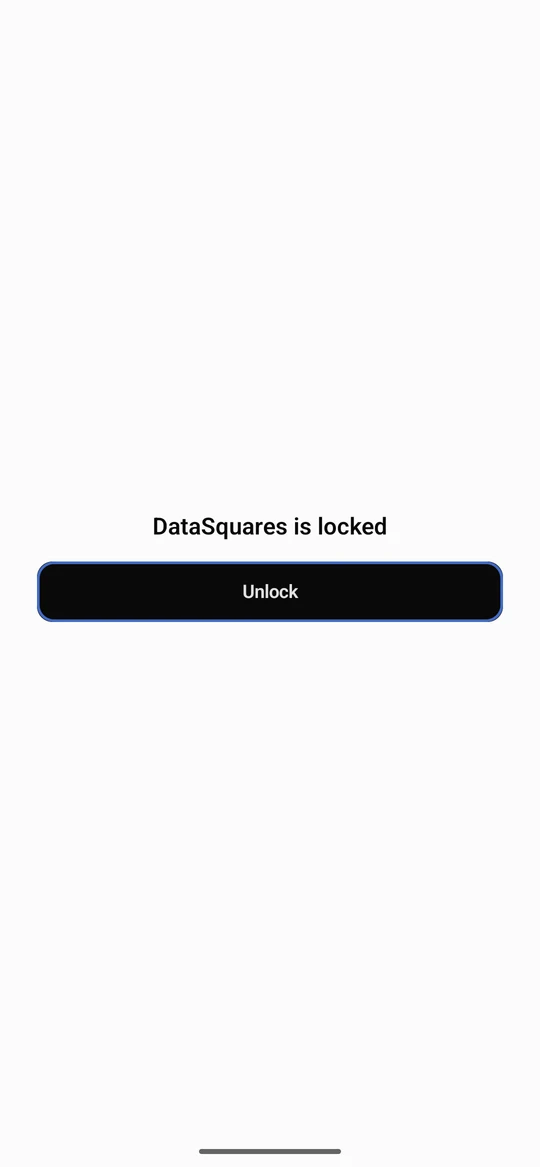
When you come back to the app it shows DataSquares is locked, with your content hidden. Select Unlock; the phone asks again.
After you confirm, the app opens on your start page, Home unless you chose another under Open the app on.
If the server says a version of the app is too old, the app opens on Update required instead of your content: This version of DataSquares is no longer supported. Please update to continue. Update the app from your store; nothing else in the app works until you do.
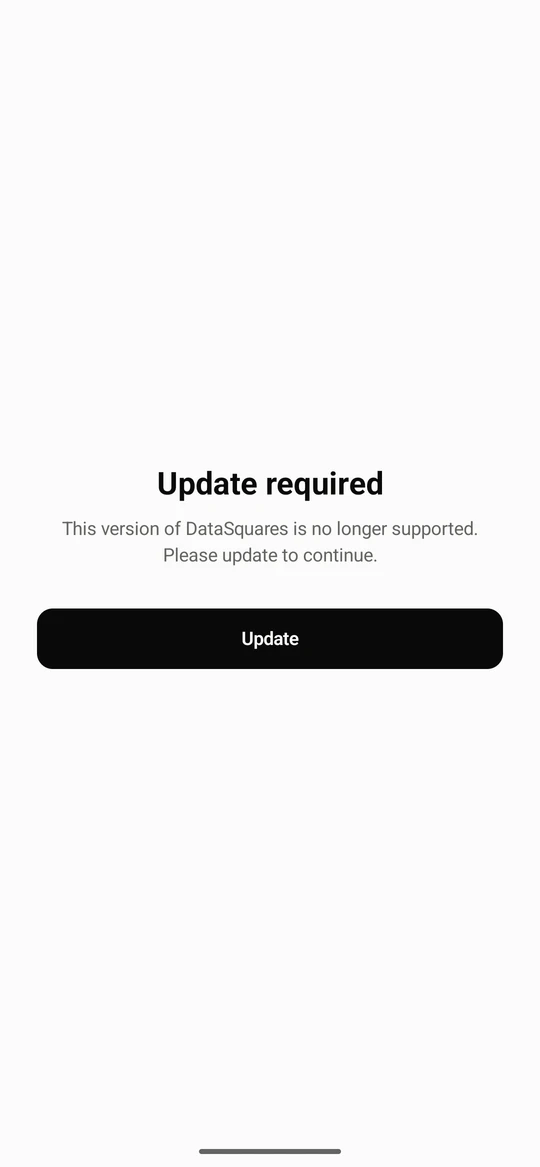
The last picture is the screen the app shows when your organization has retired the version you have installed: Update required. Update the app from your store to continue.
Home screen widgets
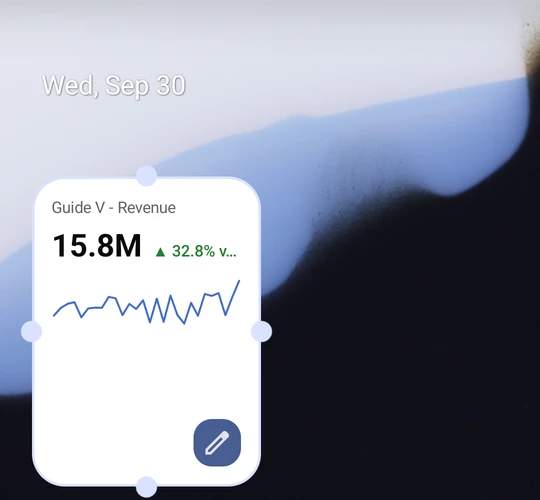
Section titled “Home screen widgets”The app offers three widgets from the phone’s widget picker: Metric (one metric with its value, change and last 30 days), Metric watchlist and Pinned card (a card from a dashboard you keep offline). Adding Metric asks which metric to show. Widgets show nothing about your data while the app lock is on, and refresh in the background about every 15 minutes.
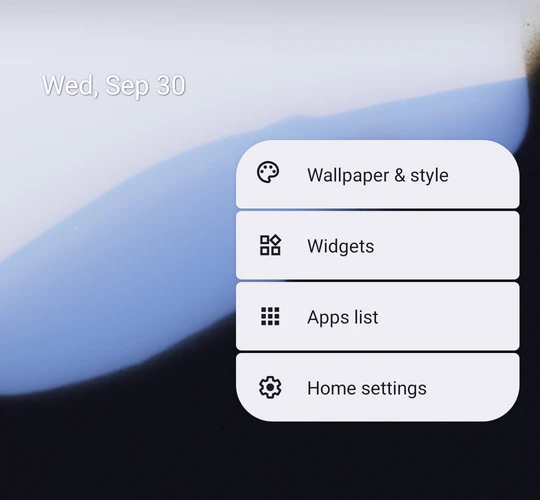
Press and hold an empty part of the home screen and choose Widgets.
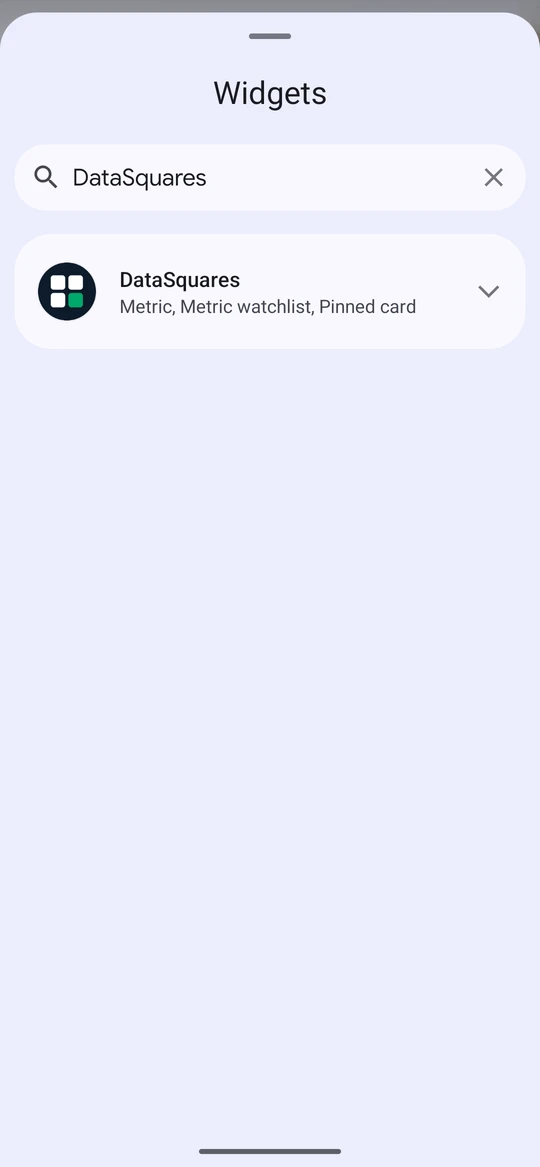
Search the picker for DataSquares. Three widgets are offered: Metric, Metric watchlist and Pinned card.
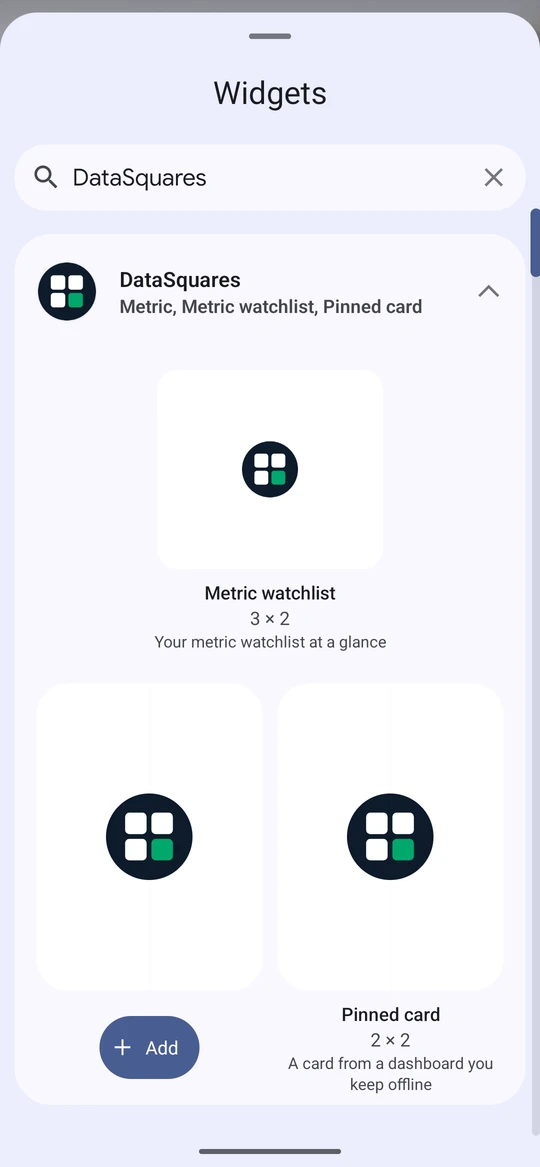
Open the list, tap Metric (one metric: its value, change and last 30 days), then Add.
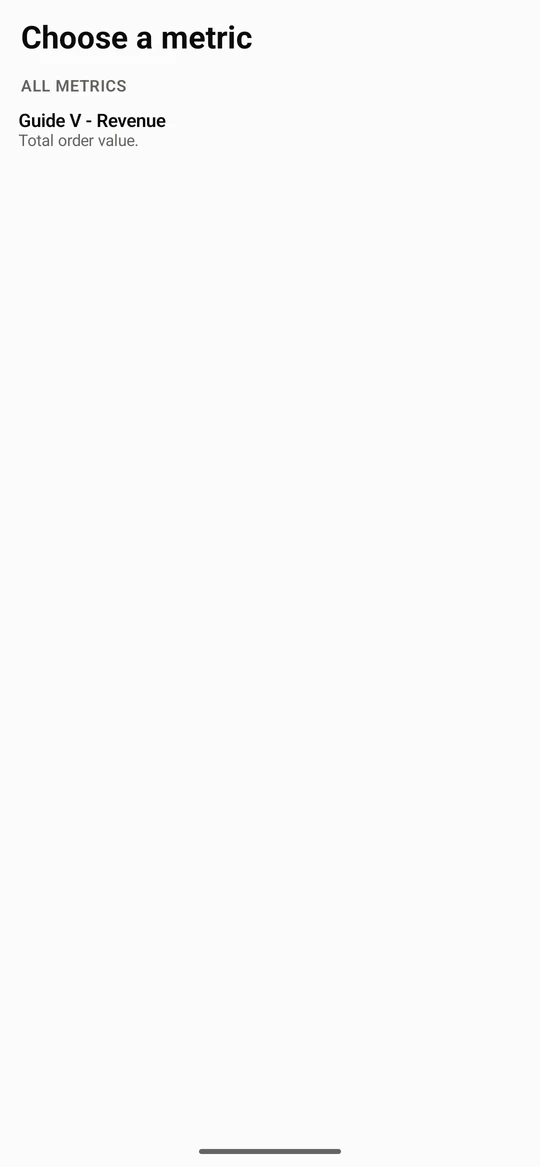
The app asks which metric the widget shows. Starred metrics come first. It asks for your unlock first when the app lock is on.
The widget lands on the home screen with the metric's value, how it changed and the last 30 days. It refreshes in the background about every 15 minutes.
Tap the widget to open that metric in the app.